| HOME | Dynaco mods | Service & Mods | Links | Downloads |
Tubes4HiFi PH16 phono preamp assembly manual
lots of photos loading, this may take a minute!
some of these photos show an older version PCB, but the general ideas are still the same!
first rule of VTA builds . . . use a meter, don't trust color codes or markings on resistors!!
resistors are soldered on the PCB first, flush to the board
BTW, almost all of the resistors for the PH16 kit are mil-spec low-noise RN55 and do not use color codes
standard procedure is to orient all the resistors the same way,
so you can read the colors or the codes, easier to troubleshoot if a problem occurs!
don't confuse the 28.7K resistors (2872F) with the 287K resistors (2873F)
one and two watt resistors should be spaced 1/16th to 1/8th inch above the PCB to allow heat dissapation!
all resistor values are facing up and oriented in the same direction,
it takes an extra second and can save alot of time and trouble later if you make a mistake!

finished PCB, cartridge loading adjustment resistors and caps on the input side of the PCB,
note switch 2 is ON, this is for standard 47K MM cartridges, all other switches are in OFF position
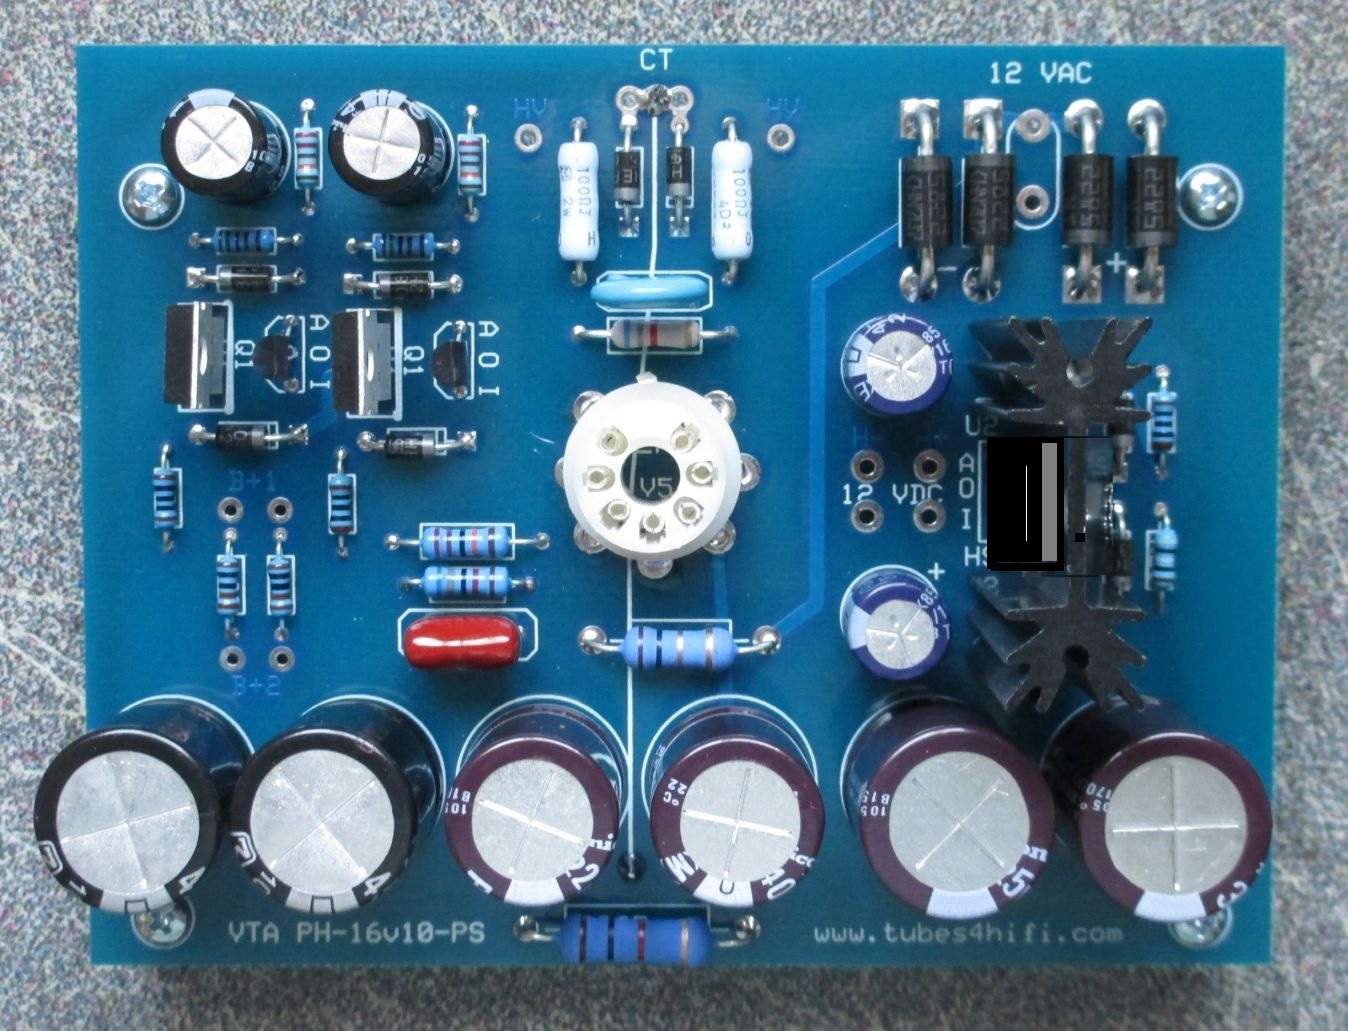
finished power supply board, resistors and diodes soldered in place, the big diodes are spaced up 1/8" above the PCB
note that the large 1K resistor center bottom can be replaced with a 155J choke if you wish

chassis drilled for PCBs, dampening sheet and power transformer installed

rear view of PH16

front view of PH16
 .
. 
power switch and LED . . .
. . . fuse and AC power filter
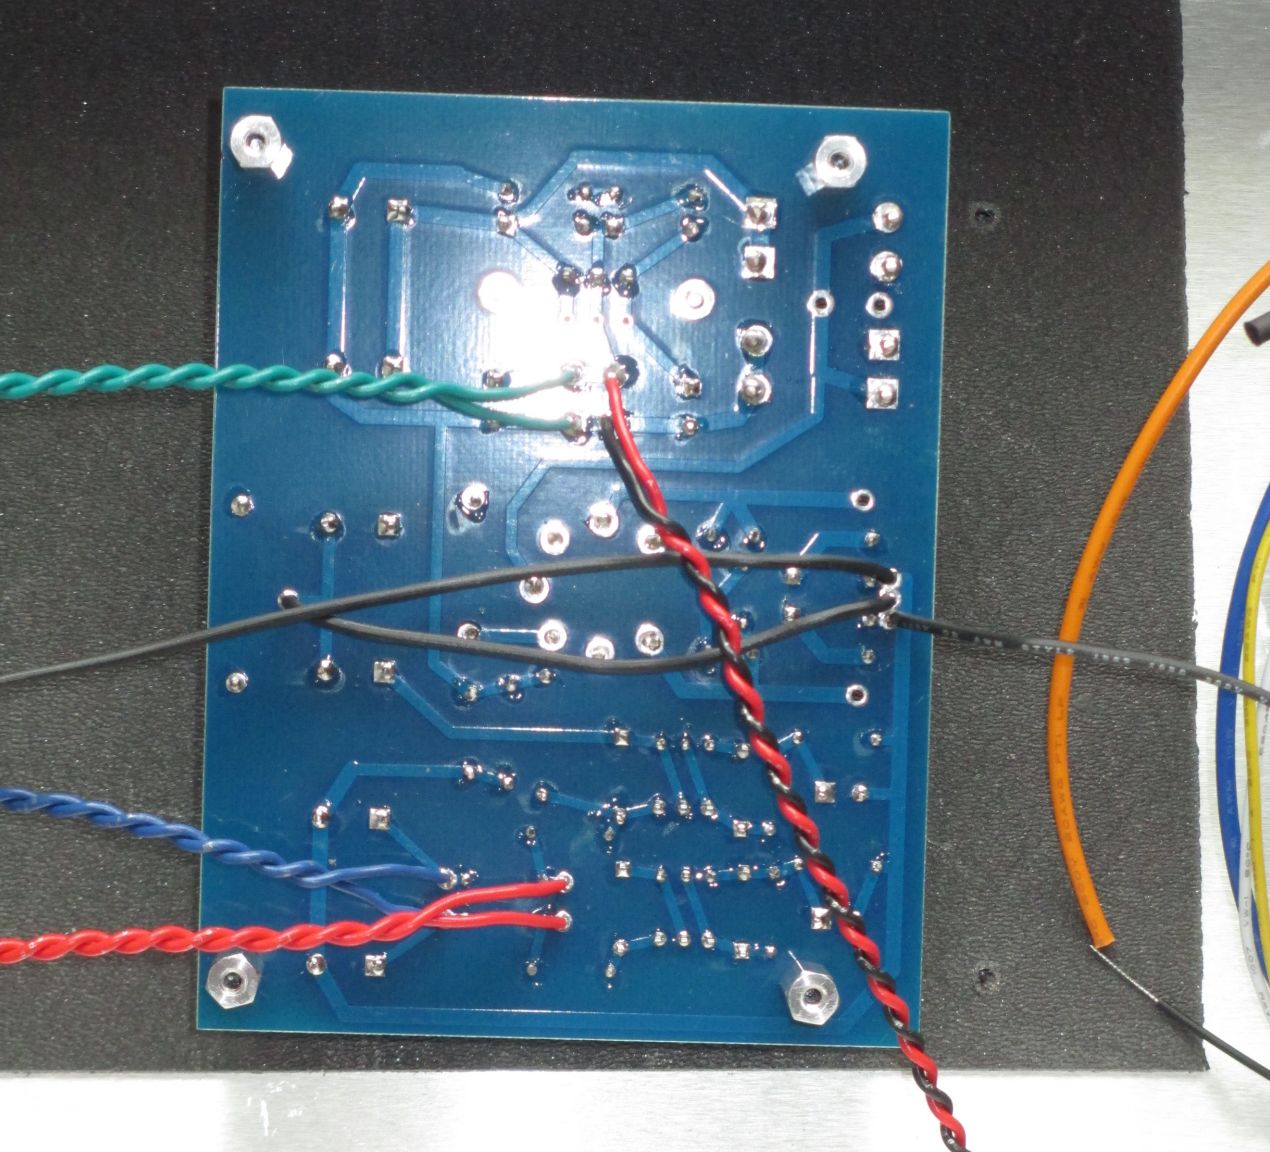
wiring added to bottom of power supply board
bottom of power supply board, large black jumper in center is ground
two red wires are B+1, two blue wires are B+2, green wires are H+/H- (filaments), and red/black pair is to front panel LED

power supply board mounted in place and ready for power transformer wiring
green and brown windings are connected together, grey wire will not be used

transformer connections made to power supply
purple wire is earth ground, connected to ground on power supply
white and yellow wires are HV (200vac high-voltage), orange and blue are 12vac for filaments

rear panel RCA jacks wired
inputs are on left with mini-shielded video cable, outputs are on right
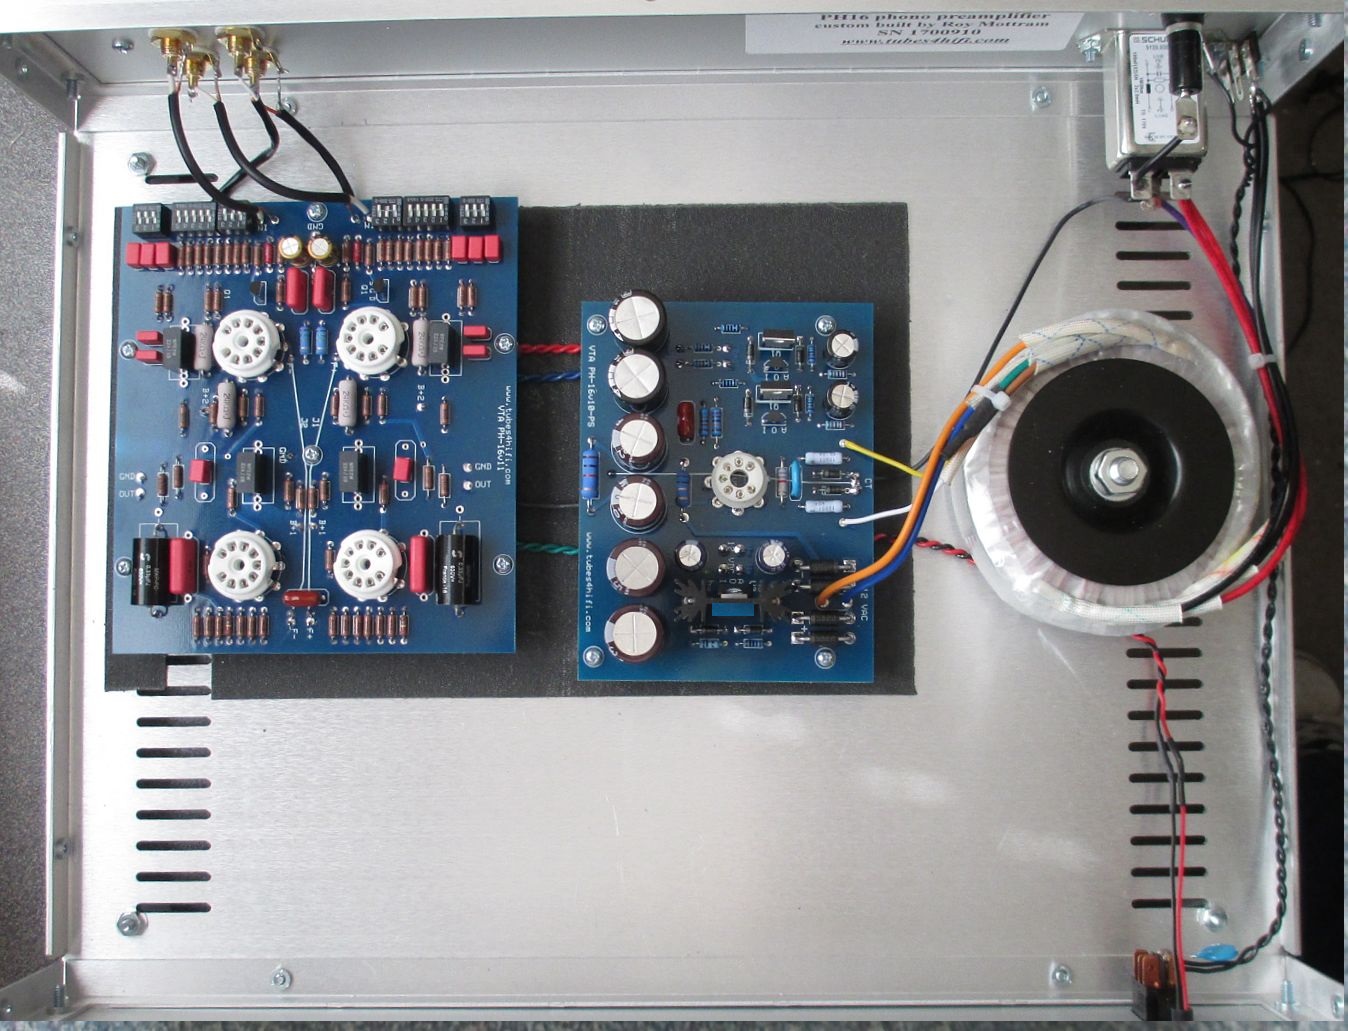
wiring is all done, overview of chassis interior, top view
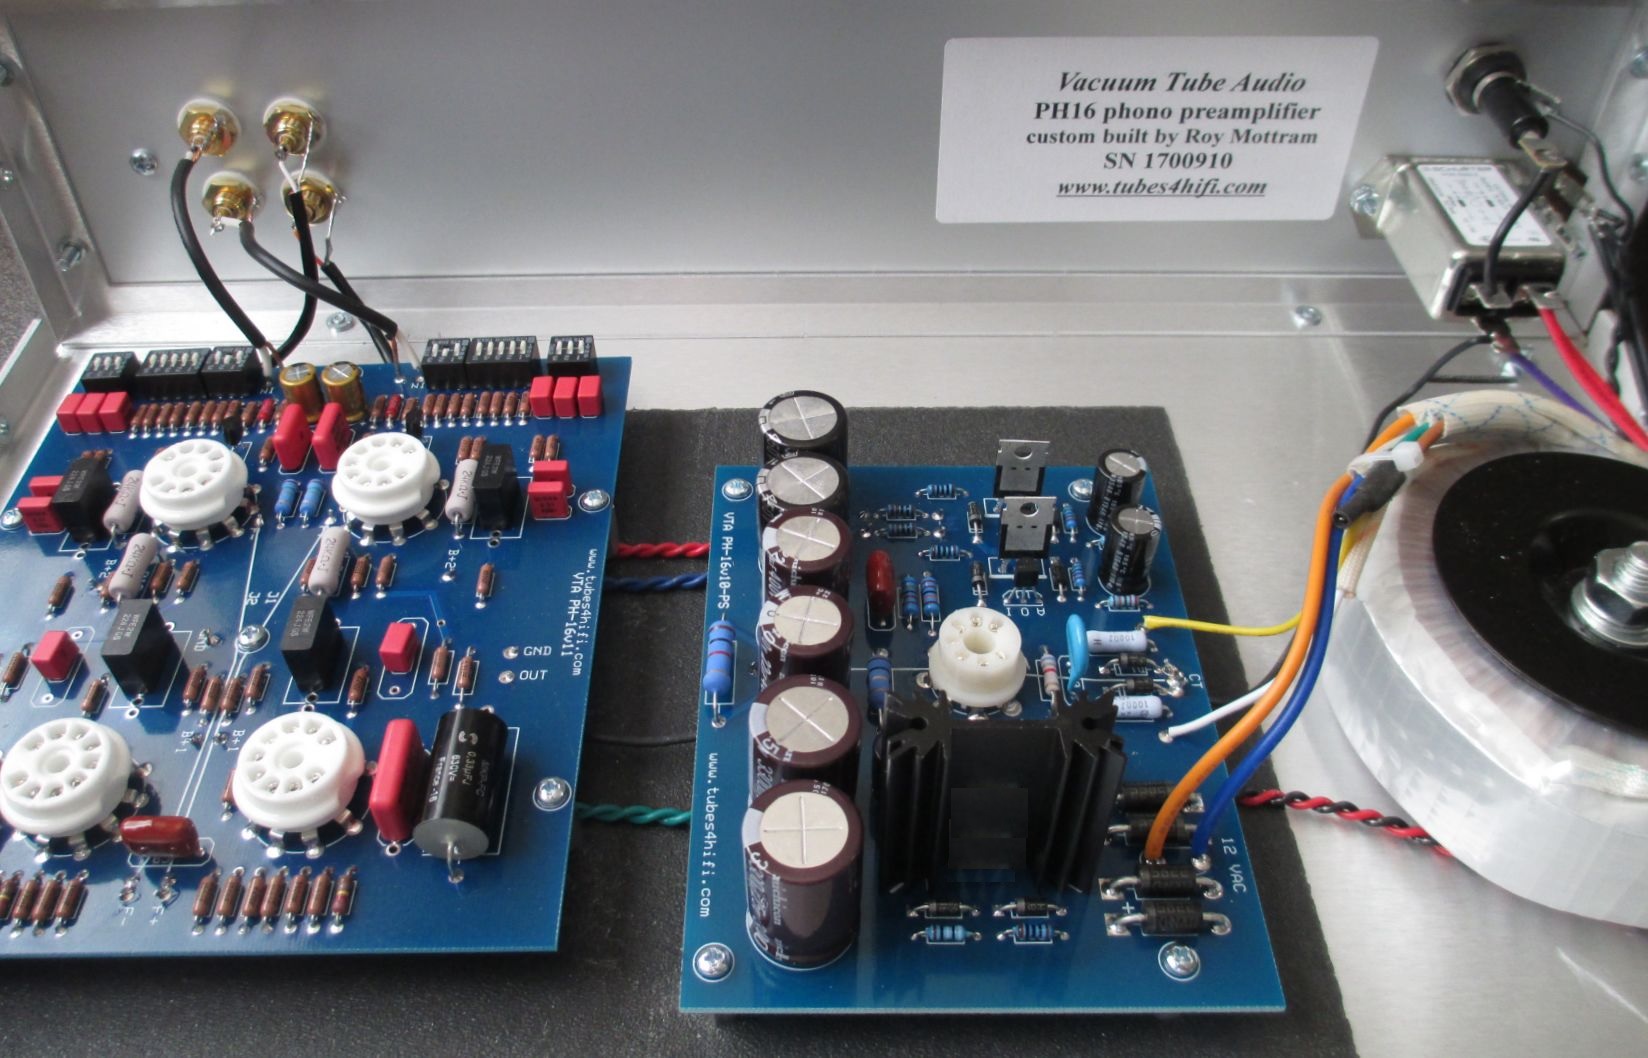
another overview of chassis interior, front to rear
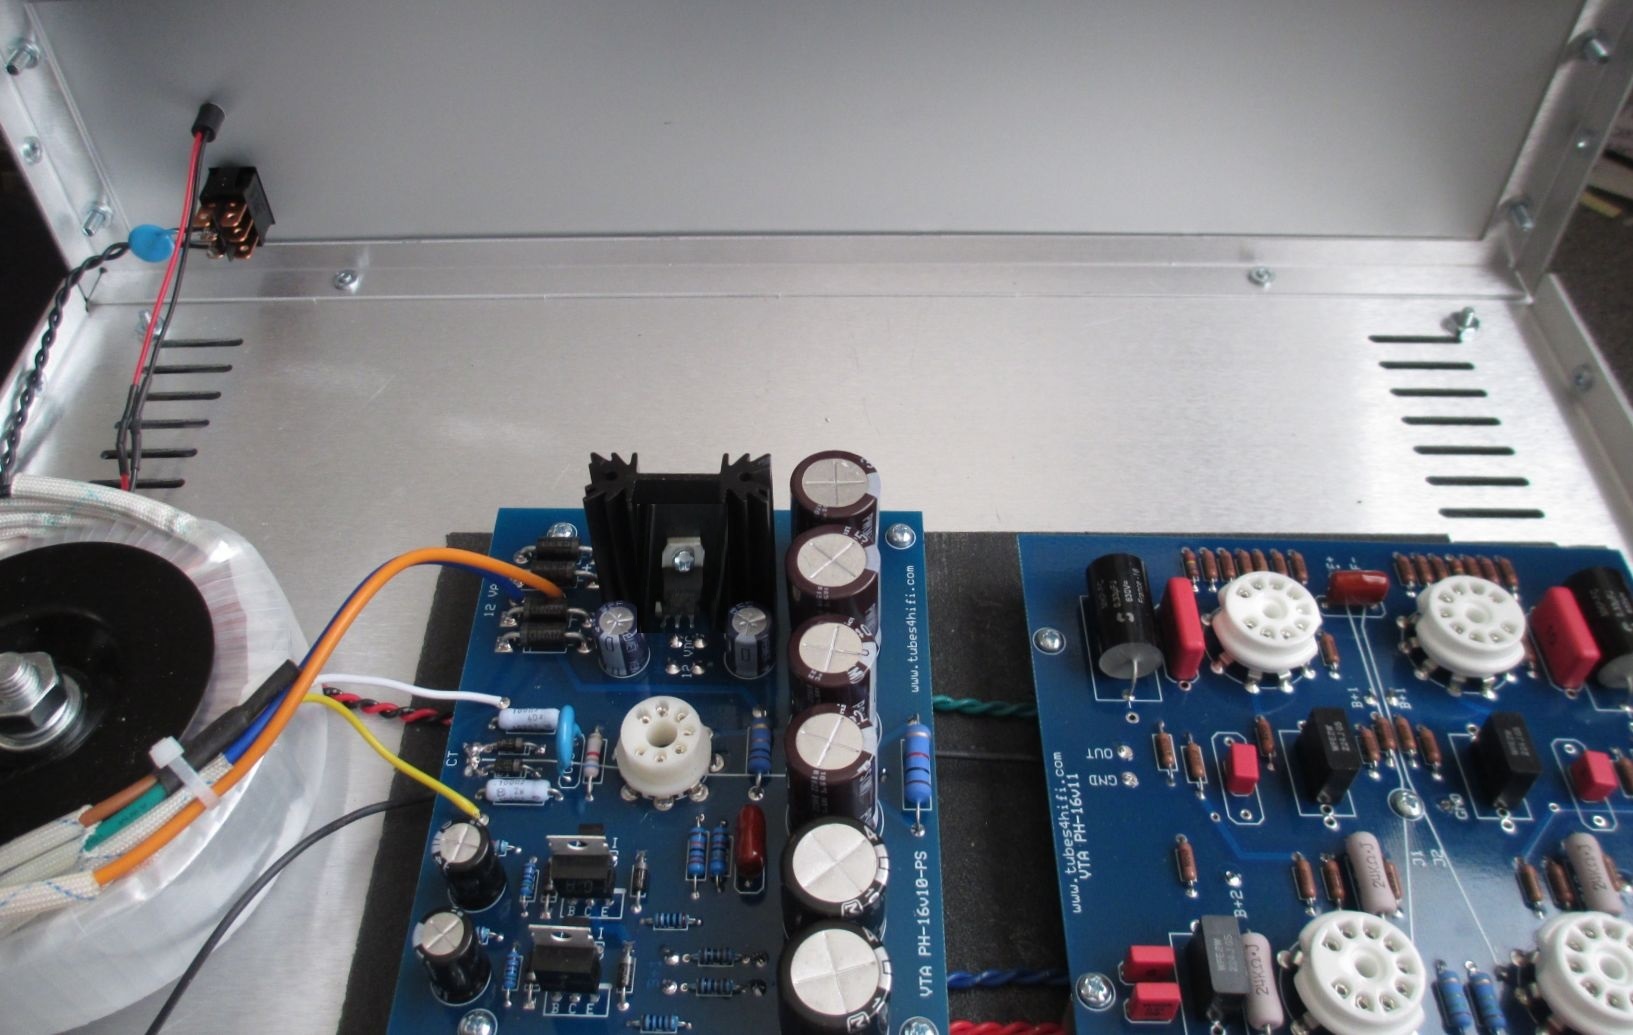
another overview of chassis interior, rear to front

front panel view

rear panel view
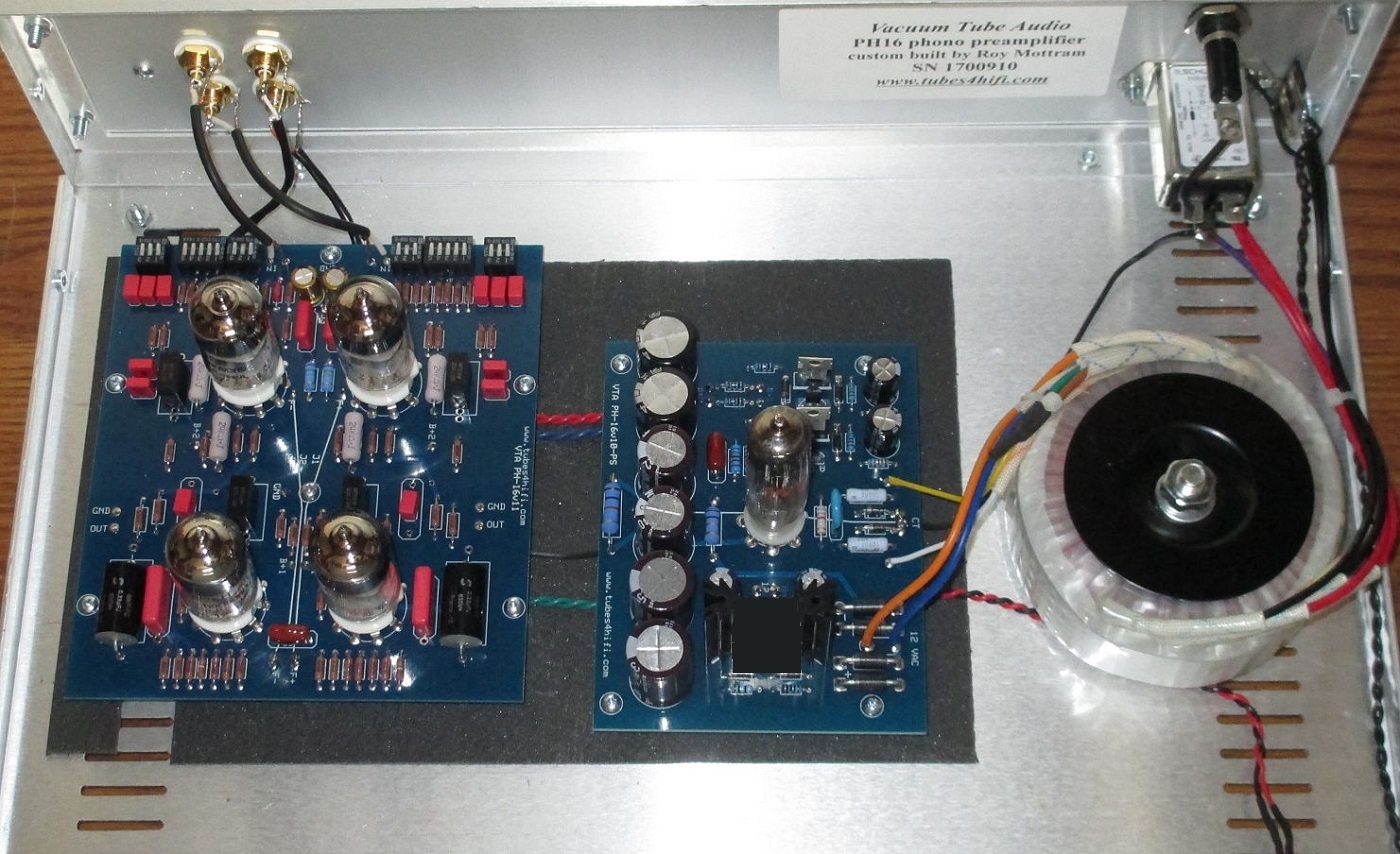
finished phono preamp, professionally assembled & fully tested by Roy Mottram
Vacuum Tube Audio www.tubes4hifi.com/PH16.htm
$700 as a full kit, or just like this one ready to plug & play, for $900

frequency response verified to be flat (down 0.3db) from 9Hz to 22KHz, output impedance is 330 ohms
send us email at: info@tubes4hifi.com
return to HOME page
|
| |
|
|